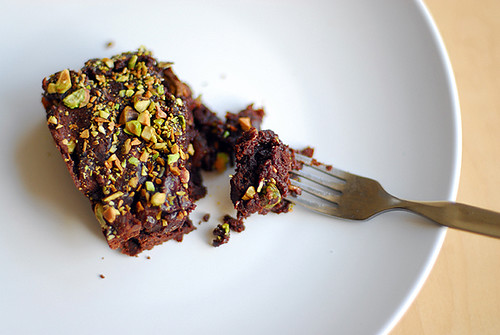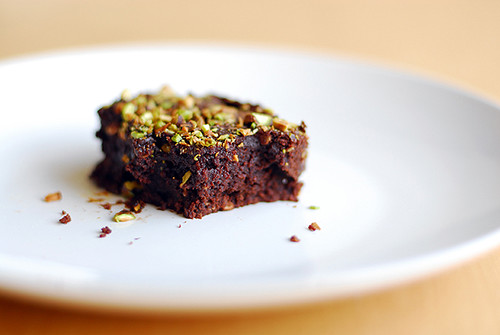
Pistachio Apricot Brownies
- 3/4 cup sugar
- 3/4 cup cocoa powder
- 1/4 cup canola oil
- 1/4 cup butter
- 4 Tbsp milk
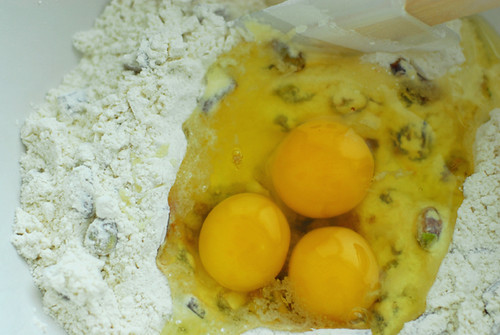
- 2 large eggs
- 2 tsp vanilla extract
- 1-1/3 cup flour
- 1/8 cup flattened barley (or oatmeal)...for a little added texture
- 1/2 tsp baking powder
- 1/4 tsp salt
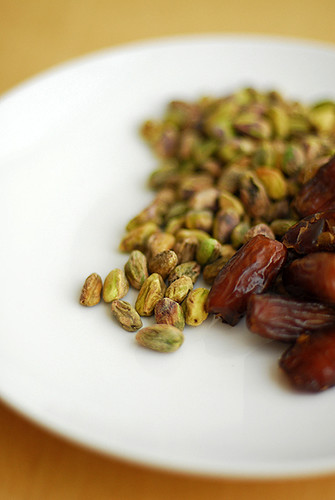
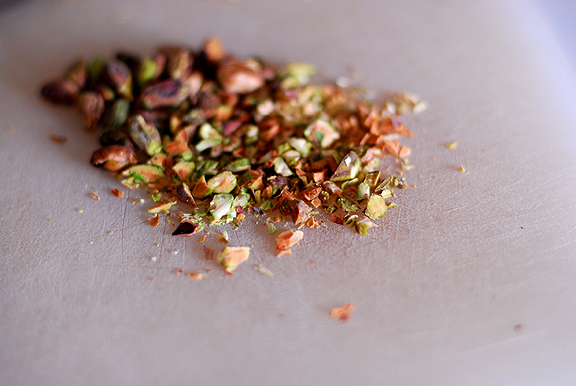
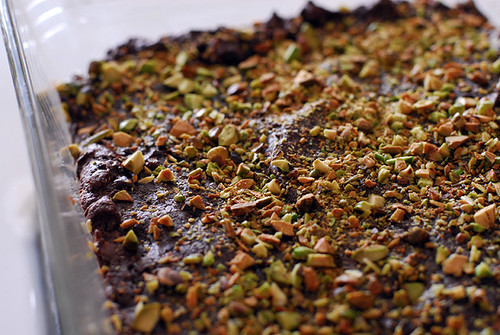
- 1/4 cup pistachios
- 1/4 cup dried apricots, chopped to about 1/4" cubes
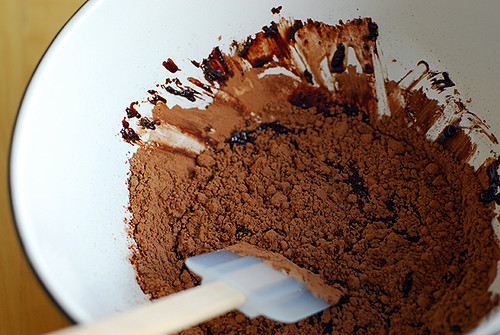
In a large bowl, melt butter (I used a microwave for about 30 seconds) and then combine/mix with canola oil and cocoa powder.
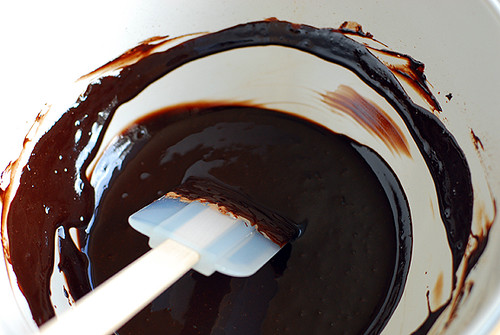
Add milk and vanilla extract. In a medium sized bowl whisk together the eggs and the sugar. Slowly stir the chocolate mixture into the sugar mixture. Add the flour, barley, baking powder and salt. Stir to combine.
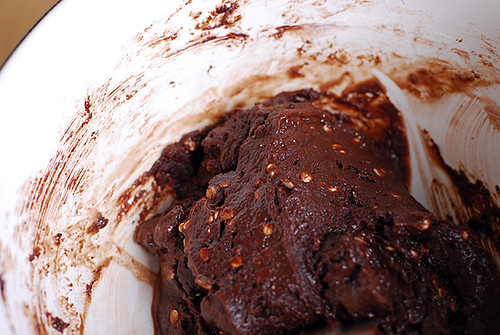
Fold in the pistachios and apricots, saving a small handful to chop up for topping the brownies. Pour the batter in the pan, sprinkle with remaining pistachios and/or apricots.
Bake for 18-24 minutes. Remove from the oven and allow to cool. Cut into bars once it has cooled.
Enjoy with a fresh glass of milk...*gulp*...ah!